Industrial Innovation
Simplifying Smart Manufacturing for SMEs
For 10 years, we’ve been helping companies build a scalable path toward connected, data-driven factories—offering a full ecosystem for the digital transformation of manufacturing SMEs and bringing data directly into daily operational decisions

Complete Industrial Technology
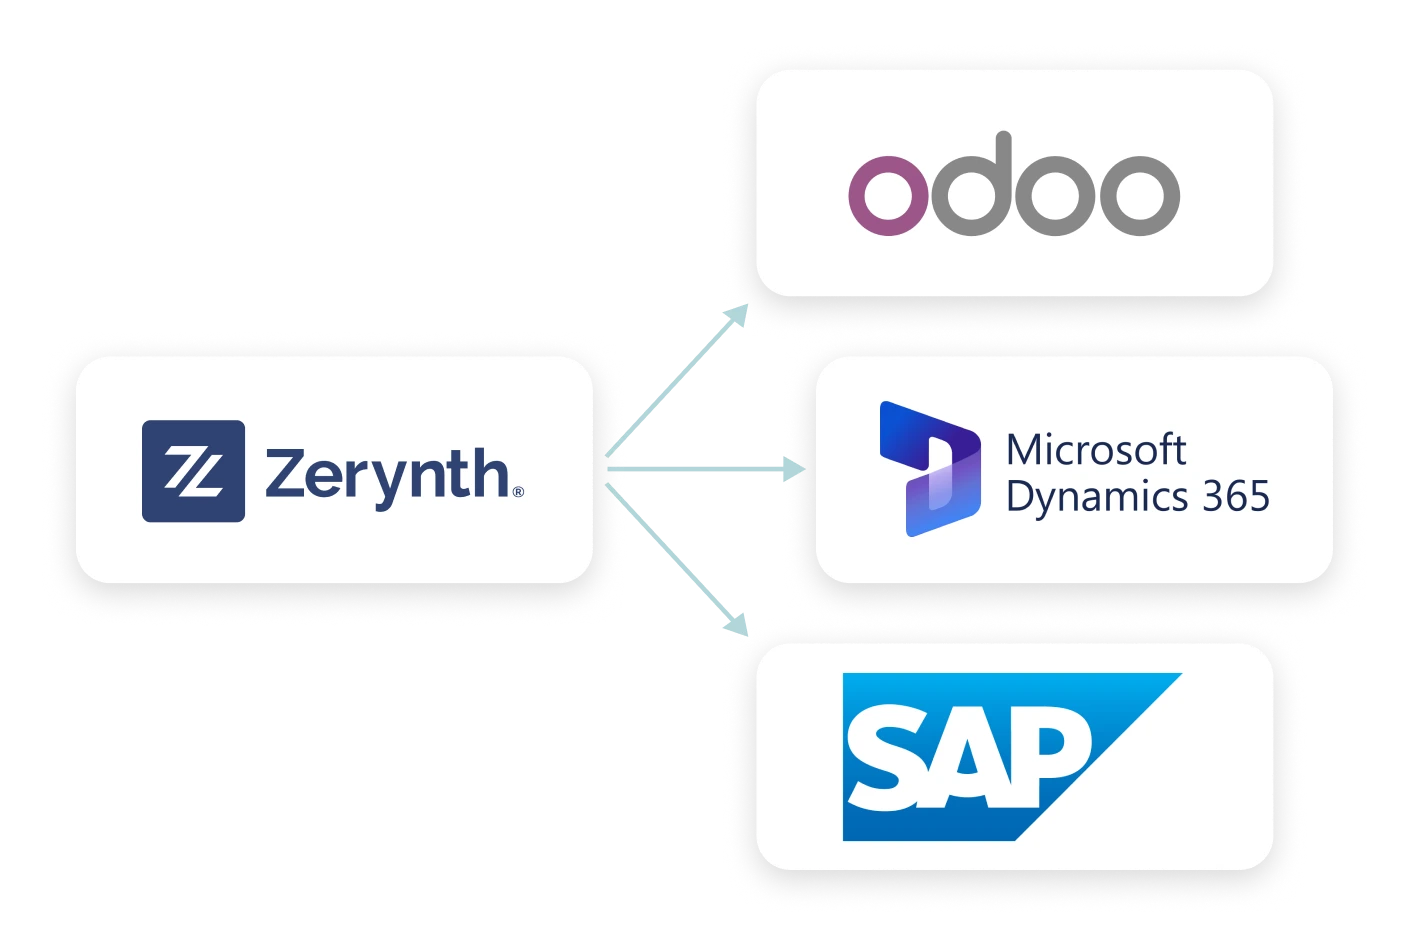
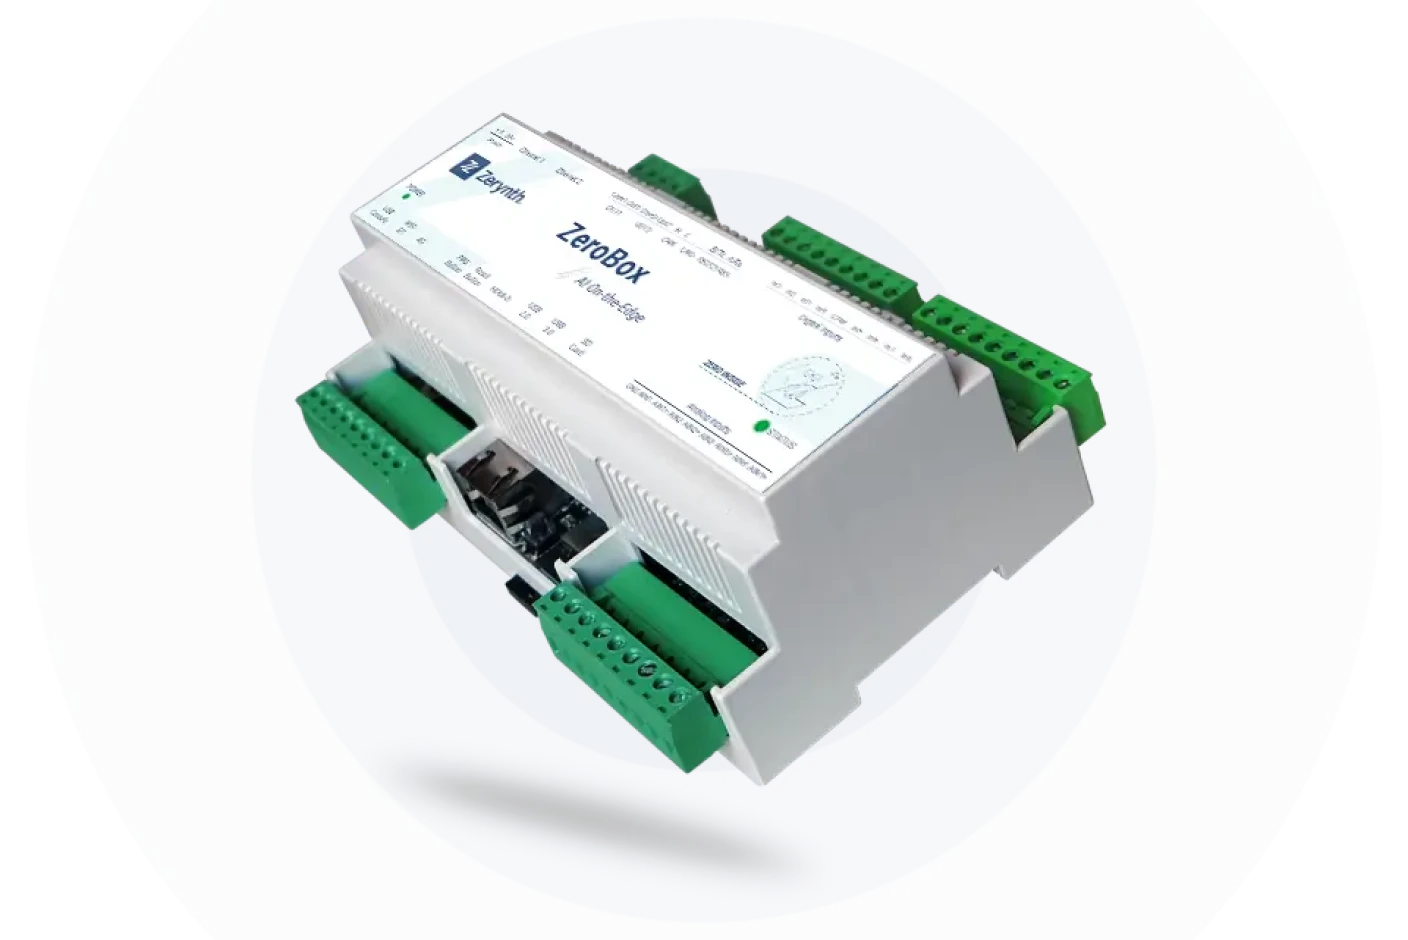
Connect any machine and digitize the entire factory with IoT hardware, edge computing, and ERP/MES integration.

Industrial AI
Zero, our AI Copilot, analyzes real-time data and provides instant insights, alerts, and recommendations.

Expertise at Your Service
A guided approach with expert support to reduce downtime, save energy, and deliver measurable ROI.
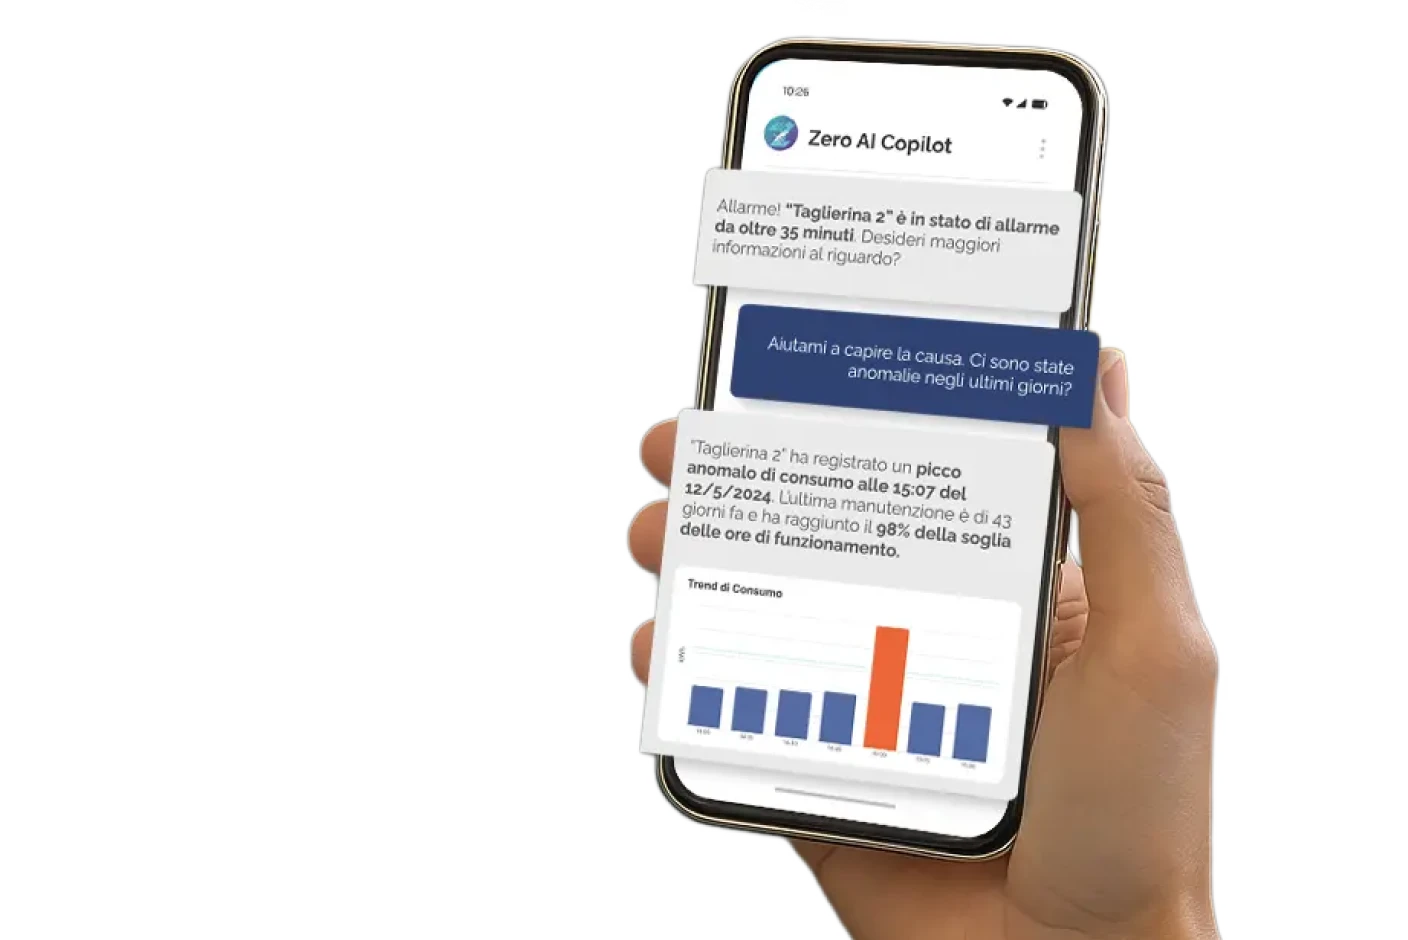
An AI Copilot That Works by Your Side, 24/7
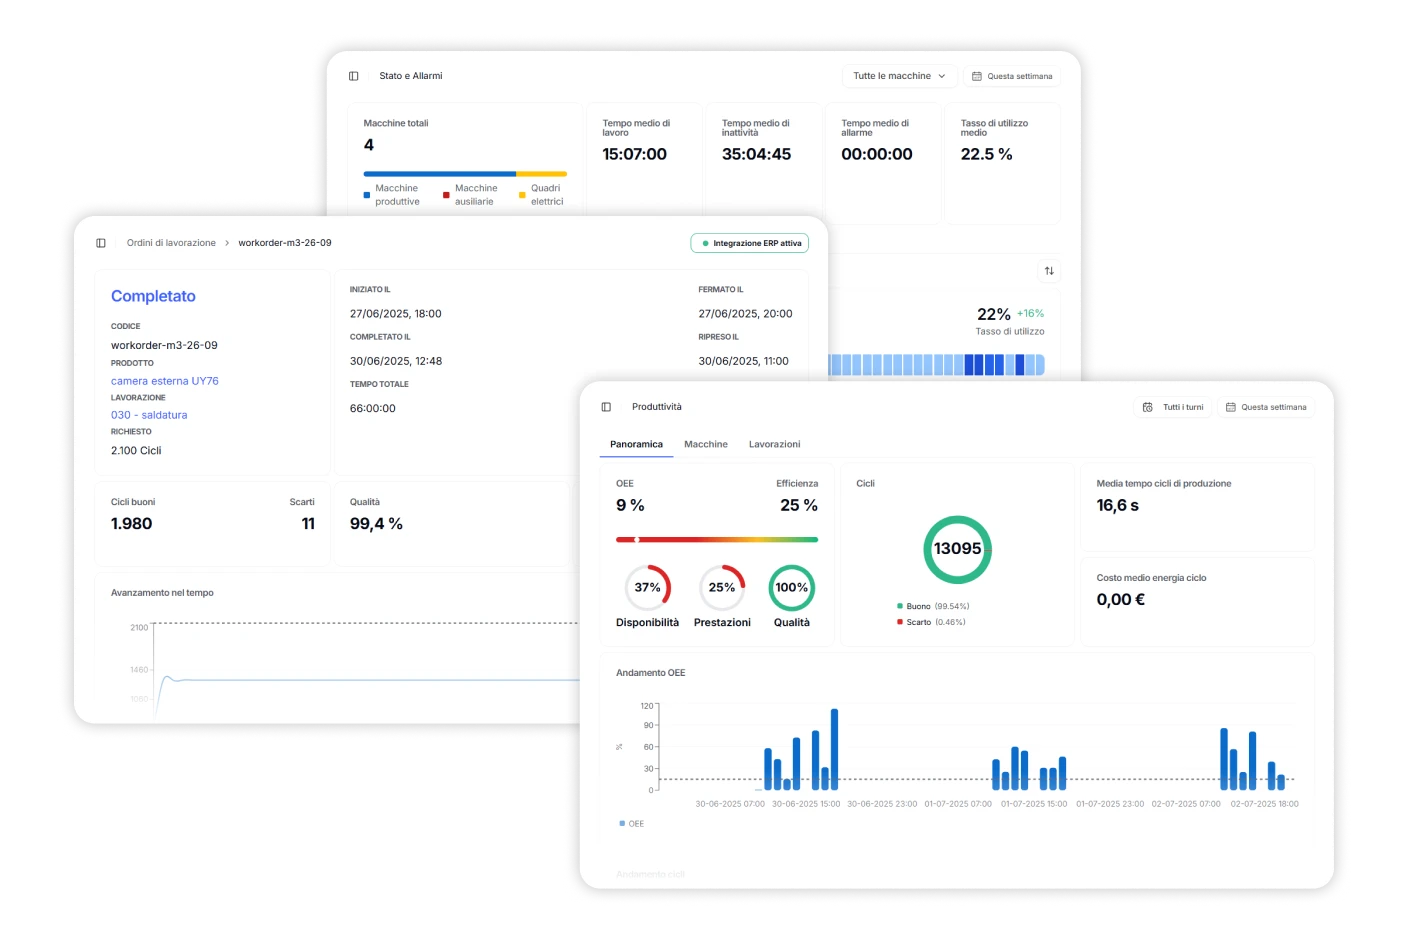
Having data is not enough—it needs to be interpreted and understood. We integrate your data, make it readable, and turn it into actionable strategies. Zero is your always-on industrial assistant: it uses natural language, analyzes real-time data, generates insights, and helps reduce downtime, waste, and errors.


A Fast and Scalable Growth Journey
A proven method to connect, optimize, and deliver value quickly—without halting production.
1 Month
Activation and Data Collection
Connect your machines and start viewing real-time data, with no disruption to production.
Under 12 Months
Full Go-Live
We roll out the platform across entire departments, integrating ERP and processes without upheaval.
Under 24 Months
Full Project ROI
The investment pays off in less than two years, thanks to real savings on energy, maintenance, and downtime.
Our Results
Measured Impact, Project by Project
Over 200 manufacturing companies have already transformed their operations with Zerynth. From the first connected machine to full process control, we support every client through continuous improvement—with numbers that speak for themselves.


Armal: Remote monitoring of machinery for energy efficiency in the plastics industry
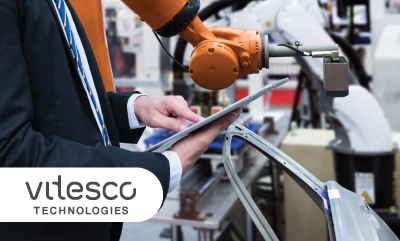
Vitesco Technologies: Predictive Maintenance in Automotive

ESA: plant monitoring and energy consumption for the waste sector

T.G.R. Srl: Integration and Monitoring of Production in the Metal Manufacturing Industry

Pelosi: Production Process Optimization and Product Quality Tracking

Food Industry: Remote Production Control and Industry 4.0 Tax Credit

About Us
Founded in 2015, Zerynth has seen exponential growth. We’re now a team of more than 40 people with deep IoT expertise and over 150 clients across all major industries—from manufacturing to agriculture, energy to logistics.
Zerynth is based in Pisa, Italy, and is expanding internationally with planned growth across EU and non-EU markets over the next three years.
